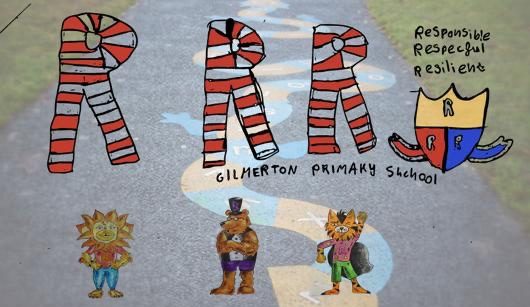
Try out this stencilled tiger piece!

This project is suggested for P6-P7 but everybody can give it a go – you can try out a more simple version!)
You will need:
✅ a pencil ✏️
✅ a ruler
✅ a couple of small sponges (I used basic washing up sponges that I cut in half)
✅ scissors ✂️
✅ A3 paper (or A4 for a smaller version)
✅ scrap paper for the stencils
✅ acrylic paint (or you can use poster paint and add a little flour to make it slightly thicker). Colours – blue, red, yellow, white, black. You will need a pallet and paintbrushes 🖌

First draw out, as best you can, this tiger in landscape on your paper.

Now trace just the outline of your tiger like this. Trace this again so how have two copies of this outline. Put one to the side for later. Hint – trace your drawing at the window or if you have a light box you can use that!

Cut out the shape

Place you stencil on another piece of paper. Mix an orange colour with your paint.

Now start sponging the shape. Make sure you only dab, don’t swipe, it may rip the paper!

Leave a wee bit of light on the body

Next, take the traced shape from earlier and cut it out.


These are the shields for more stencilling.

By this time your first orange stencilled shape should be dry. Put your shields over your paper like this.

Create a green colour by mixing blue and yellow paint.

Sponge the colour on to the negative space like this

Remove your shield and you’ll see your creation taking place.

Next, take your first drawing and trace at the window or light box the tiger’s stripes

It should look something like this

Now, cut out the stripes you’ve just drawn. (If you think this will be too difficult you can paint on the stripes directly with a brush)

Now place the stripes stencil correctly over your previous work.

Use you black paint to stencil on the stripes. Tip: make sure your sponge is dabbed off on your pallet to avoid overloading the paint.

Your work should look something like this now!

Now – when your work is dry, put it over your first drawing ✍️ for a trace. You should be able to see the finer facial details and paw lines – sketch these with your pencil.

You may like to add some white areas using the stencil again. Paint on the details guided by your pencil lines using black.

The tiger is nearly there!

Take your yellow paint and brush on a vibrant border colour.

While that is drying – use the width of your ruler to make a wee box like this. Draw out a claw shape.

Cut it out.

Create a pink using white and a little bit of red. Stencil the claws along your border making sure to leave a gap for the next colour.

When they’re dry – mix a little bit of white with blue and stencil in between the pink ones. Next – outline your claws for an edgy effect.

And finally, add a shadow under your tiger 🐯 to make it feel more grounded on the page! Add a few finishing touches and your colourful and striking painting is complete!!
This project may take a few days so be patient and work hard – it will pay off!
As always – please share you art work with us, I’d love to see how they go for you! (admin@gilmerton.edin.sch.uk or @GilmertonPS)
Keep creating! Mr Briginshaw
